For some, baking their own cake on their birthday is weird. They say that their loved ones would be offended if they made their own cake....that birthdays are their special day and they want to be treated special... and it does not include baking their own cakes.
But for me, buying birthday cake on my special day just for the sake of having cake on my birthday is insincere happiness. Decorating my own cake would be a genuine treat for me and my family.
For a number of years that I had celebrated my birthday, I never had a cake :-( because we were brought up in the countryside where birthday cake is not a tradition.
Although I am a certified Chef-at-Heart, I thought, baking is not my forte. I never thought it could be easy and really fun specially the part when I was decorating it with fresh and canned fruits.
Baking is just easy through The Maya Kitchen's Mixes and this won't be my first...I promise!
Baking is just easy through The Maya Kitchen's Mixes and this won't be my first...I promise!
All set in the scenic front area of our rented villa in Porta Verde, I assembled the ingredients. Only to found out that the mix that I bought was for Chocolate Fudge. Geez! My supposedly "first" birthday cake would be delayed for a year again? Oh no! I wouldn't let it to happen. As a self proclaimed Chef-at Heart I knew how to salvage it....and so I made a Chocolate Fudge instead.
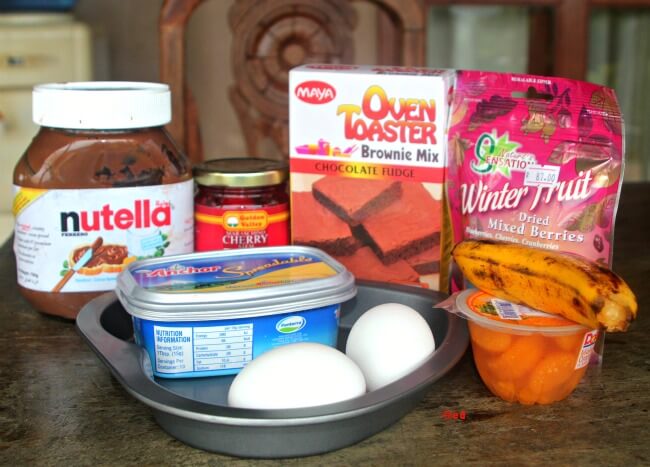
Here are the ingredients;
1 pack MAYA Oven Toaster Brownie Mix 230g
1/4 cup or 1/4 bar butter or margarine
1 whole egg, medium
1 tablespoon water
Dried mixed berries
For the toppings:
Nutella
Canned and fresh fruits
Here are the ingredients;
1 pack MAYA Oven Toaster Brownie Mix 230g
1/4 cup or 1/4 bar butter or margarine
1 whole egg, medium
1 tablespoon water
Dried mixed berries
For the toppings:
Nutella
Canned and fresh fruits
Procedure:
Prepare your baking pan. If you are using non stick, brush the bottom of a 9x5x1-inch rectangular pan with oil or shortening then line with wax paper.
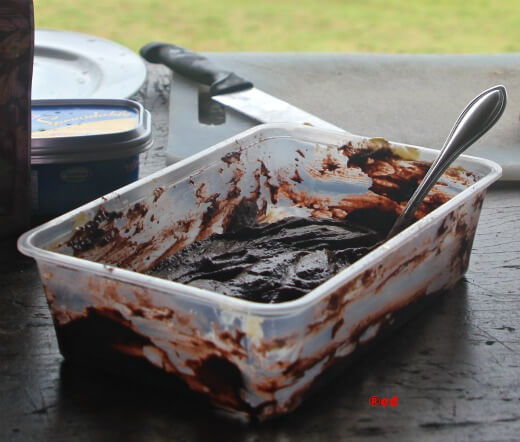
Cream the butter in a bowl until soft. Add the egg and water and blend together. Add the brownie mix, mixed berries and beat with a spoon until smooth, approximately 50-60 strokes. Batter will be heavy.
Spread batter on the prepared baking pan.
Cover with aluminum foil and lightly seal at the edges.
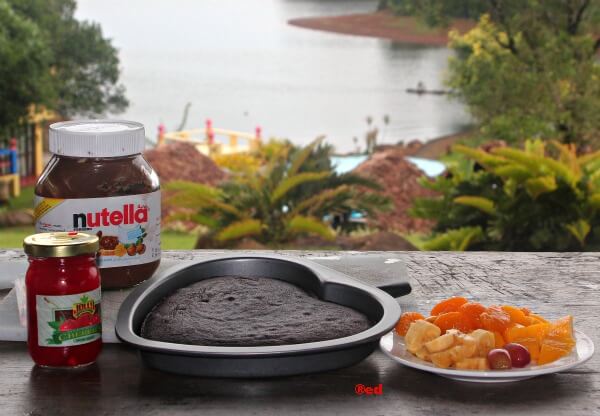
Remove oven toaster tray from the oven. Place the baking pan directly on the oven rack. Bake for 10 minutes. Turn the pan sideways then bake for 6 minutes more.
Check if the brownie is done by inserting a toothpick at the center. If it does not come out clean, continue baking for 1-3 minutes or until a toothpick inserted at the center comes out clean.
Cool completely before removing from pan.
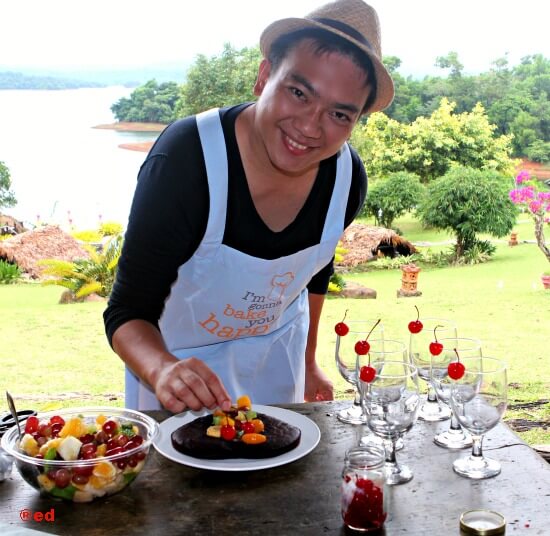
Here's my favorite part....decorating!
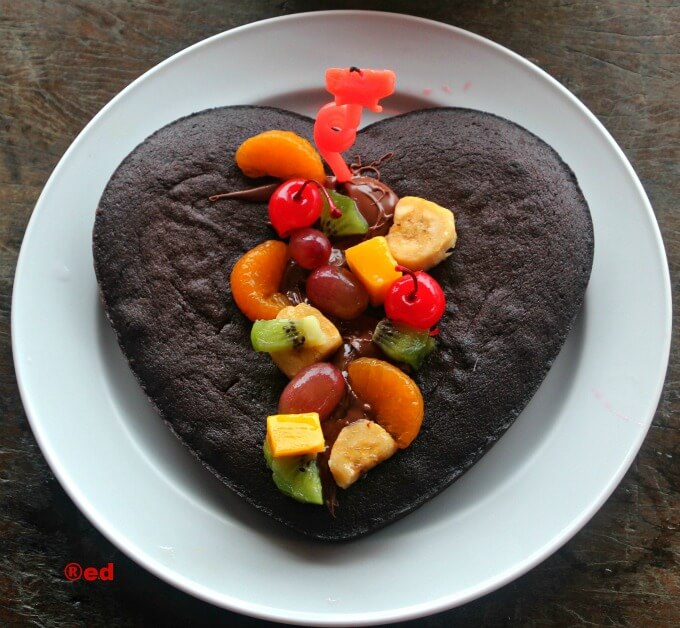
With no experience whatsoever in cake decoration, I just based it from intuition. My plan was to spread nutella and place two cherries on top. I changed my mind when I saw Peachy's fresh fruit salad. I snatched some colorful fruits and assembled on top. The result was perfect!
Ttttaaaddaaaaaa!!! Meet my first baked dish. Sweet and beautiful. Just like me!




3 comments:
That looks gorgeous!
http://everydayfoodbites.blogspot.com
Ang ganda ng setting!
Mukha namang masarap!
Belated happy birthday, Rome!
Post a Comment